How to Create an Exit-Intent Pop-Up in Webflow (Step-by-Step Guide)
You’ve finally got a visitor scrolling through your site… and then they’re about to leave.
What if you could grab their attention one last time and convert them into a lead, subscriber, or even a customer?
That’s where exit-intent pop-ups in Webflow come in.
What We’ll Build
- A modal designed in Webflow
- A JavaScript exit-intent detector (mouse leaves window top)
- A cookie check so it shows only once per visitor
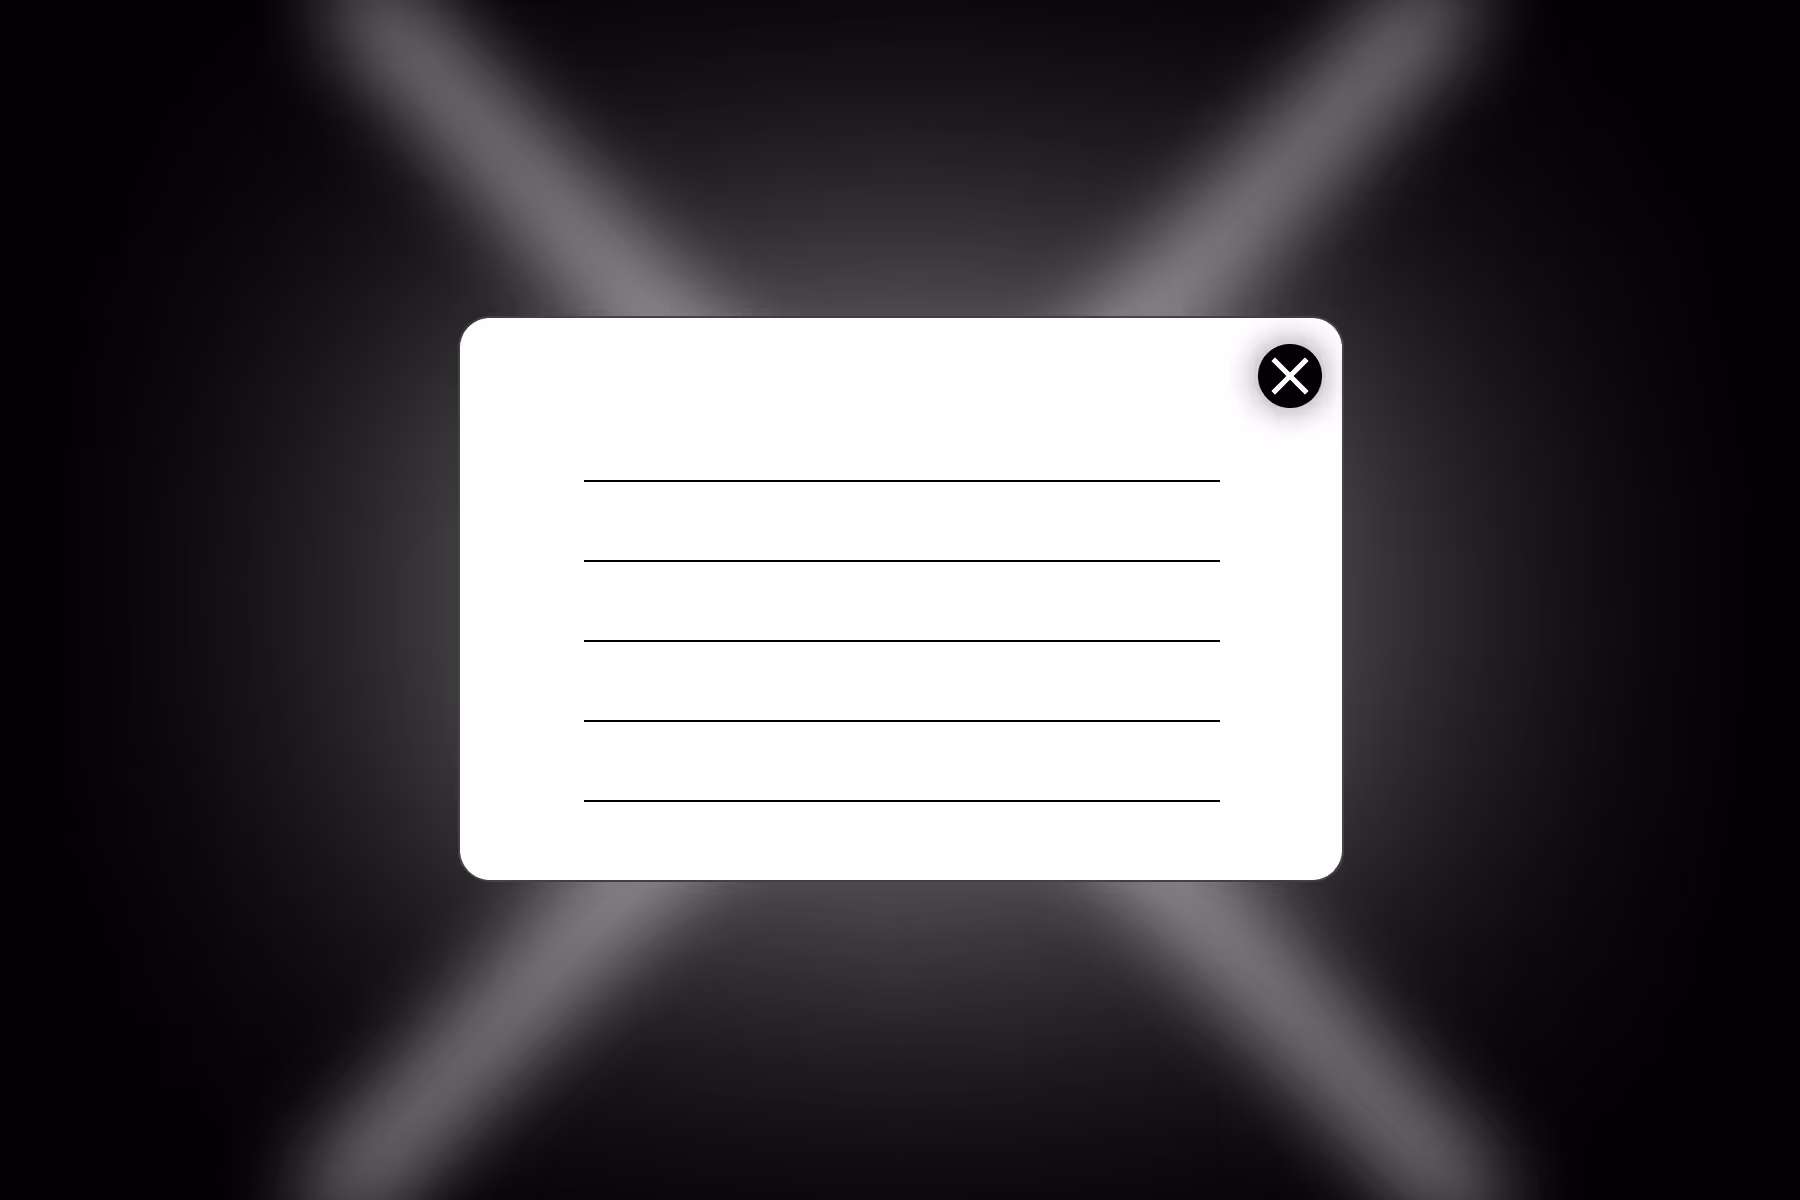
Step 1: Create the Pop-Up in Webflow
- Add a
Div Block→ give it an ID: exit-popup - Set
Display: None(so it’s hidden by default). - Inside, add your content (headline, text, form, or button).
- Add a
Closebutton with ID close-popup - Style it however you like (centered modal with dark overlay ).
Step 2: Paste this inside Page/Site Settings > Before </body> tag:
1<script>
2// Utility: Get cookie
3function getCookie(name) {
4  let match = document.cookie.match(new RegExp('(^| )' + name + '=([^;]+)'));
5  return match ? match[2] : null;
6}
7
8// Utility: Set cookie (expires in 7 days)
9function setCookie(name, value, days) {
10  let d = new Date();
11  d.setTime(d.getTime() + (days*24*60*60*1000));
12  document.cookie = name + "=" + value + ";expires=" + d.toUTCString() + ";path=/";
13}
14
15// Show popup once per visitor
16function showExitPopup() {
17  if (!getCookie("exitPopupShown")) {
18    document.getElementById("exit-popup").style.display = "flex";
19    setCookie("exitPopupShown", "true", 7);
20  }
21}
22
23// Detect exit intent
24document.addEventListener("mouseleave", function(e) {
25  if (e.clientY < 10) {
26    showExitPopup();
27  }
28});
29
30// Close button
31document.getElementById("close-popup").addEventListener("click", function() {
32  document.getElementById("exit-popup").style.display = "none";
33});
34</script>
How It Works
- The pop-up only triggers when the mouse moves near the top (exit intent).
- A cookie remembers if the user has already seen it → so it shows once in 7 days.
- Clicking the close button hides it instantly.
Frequently Asked Questions
Q1. Do I need code to make an exit pop-up in Webflow?
Yes. Webflow doesn’t have a built-in exit-intent trigger, so you’ll need a small JavaScript snippet.
Q2. How do I show the pop-up only once per visitor?
By using cookies or localStorage. In our example, we use a cookie so the pop-up won’t appear again within a set number of days.
Q3. Can I change how long the cookie lasts?
Yes. In the code, look for setCookie(..., 7) → the 7 is the number of days. Change it to any value you prefer.
Q4. Will the exit pop-up work on mobile?
Not in the same way. Exit-intent relies on mouse movement. For mobile, it’s better to trigger the pop-up on scroll or after a time delay.
Q5. Can I customize the pop-up design in Webflow?
Absolutely. You can design it like any other Webflow modal—change colors, add forms, images, or even animations.
Q6. Can I track conversions from the pop-up?
Yes. If you include a Webflow form, submissions will be tracked automatically. You can also connect Google Analytics or Zapier for advanced tracking.
Q7. Will an exit-intent pop-up affect my SEO?
No, as long as it’s user-friendly and easy to close. Avoid overly intrusive designs, especially on mobile, to stay in line with Google’s guidelines.
.avif)
.avif)
Ditch the delays. launch your webflow website faster.
Start your project with a partner who values speed and seamless communication.